Turning a simple picture into a stunning wrap design is one of the most powerful ways to customize products, create unique branding, or enhance your e-commerce listings. Whether you’re selling personalized tumblers, mugs, bottles, or running a print-on-demand business, learning how to turn a picture into a wrap gives you a competitive edge.
In this guide, you’ll discover step-by-step how to convert your images into professional product wraps, tools that simplify the process, and essential tips to maximize your sales potential.

🎨 Why Wrap Designs Matter for Your Business
In today’s competitive e-commerce and print-on-demand landscape, visual appeal isn’t optional—it’s essential. Whether you’re selling personalized tumblers, mugs, or other custom products, the wrap design is often the first thing your customer notices. It can be the difference between someone scrolling past your listing or clicking “Add to Cart.”
🧲 First Impressions That Sell
Great wrap designs create instant visual impact. When potential customers browse platforms like Etsy or Amazon Handmade, they make split-second decisions based on appearance alone. A high-quality, professionally sized wrap grabs attention and gives your product a polished, trustworthy feel.
On the other hand, a poorly designed wrap—one that’s blurry, off-center, or doesn’t fit correctly—can make even the best product look unprofessional. That hurts your brand and can lead to fewer sales.
🎯 Communicating Value Without Words
A well-crafted wrap isn’t just decoration—it communicates emotion, purpose, and quality. For example:
- A minimalist design might appeal to modern, luxury-focused shoppers.
- A bright and bold wrap might attract customers looking for fun gifts.
- A personalized quote or name instantly adds emotional value and uniqueness.
Your wrap tells your brand’s story before the customer even reads the description.
💰 Wraps That Convert to Sales
Mockups and product images featuring strong wrap designs have a direct impact on conversion rates. According to e-commerce studies, products with better visuals receive up to 90% more clicks and significantly more purchases. When shoppers can clearly visualize the final product—especially in a personalized format—they’re more likely to buy.
🛠️ Efficiency = Profit
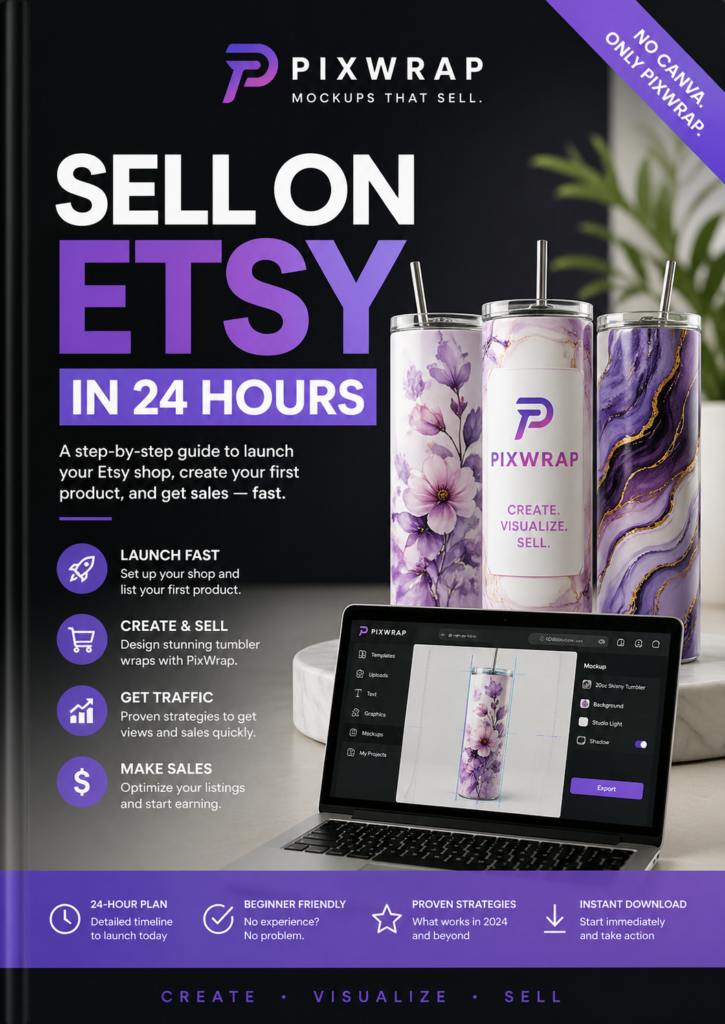
Manually designing every wrap can take hours. If you’re selling on-demand or managing a growing product catalog, speed and consistency are key. Tools like PixWrap allow you to generate high-quality wrap designs in seconds, helping you launch new products faster and stay ahead of trends.
PixWrap ensures every design is perfectly sized, export-ready, and optimized for platforms like Etsy, Shopify, or Redbubble—no Photoshop skills required.
🚀 Scaling Your Brand With Strong Wraps
As your business grows, having a streamlined system for creating wrap designs becomes crucial. A repeatable, professional design process builds trust and makes it easier to launch collections, test new styles, and stay consistent across your store.
👉 Start creating better wrap designs with PixWrap and turn your product visuals into your biggest competitive advantage. Turn a picture into a wrap easy.
📦 Your product is great—make sure your design shows it.
Step 1: Choose the Right Picture for Your Wrap Design
Selecting the right picture is crucial. Here are tips to ensure your wrap stands out:
✅ Use high-resolution images (300 DPI recommended)
✅ Ensure the picture has good lighting and contrast
✅ Consider the shape of the product (tumblers need horizontal designs)
Pro Tip: Nature scenes, abstract art, watercolor textures, or family photos are popular choices for tumbler wraps.
Step 2: Use PixWrap to Turn a Picture into Wrap Instantly
Designing a wrap manually can be complicated—but tools like PixWrapApp.com make the process easy, even if you have zero design skills.
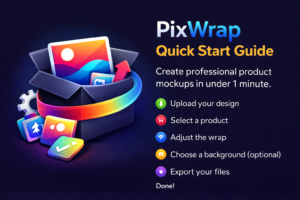
With PixWrap, you simply:
✅ Upload your picture
✅ Choose your product mockup (tumbler, bottle, mug, etc.)
✅ Adjust size, effects, and positioning
✅ Download a ready-to-use wrap or mockup image
🎯 Internal Link: Learn more about PixWrap features here to see how the tool saves time and boosts your product listings.
Step 3: Adjust Your Wrap for Perfect Fit
Every product has unique dimensions. Use built-in guides or templates to make sure your picture wraps perfectly around the product without stretching or blurring.
✅ Use bleed areas to prevent design cutoffs
✅ Align important elements to face the viewer
✅ Preview in 3D (PixWrap offers this!)
Step 4: Export High-Quality Wrap Files Ready for Print or Mockups
Once your design is ready, export in high-resolution formats like:
- PNG (with transparency)
- PDF for printing
- JPEG for online listings
Ensure your final file is print-ready if working with a manufacturer or print-on-demand service.
Step 5: Showcase with Realistic Mockups
Professional mockups help your wrap design shine and boost sales. Instead of uploading flat images, create a lifestyle mockup that shows the product in use—like a tumbler on a coffee table. Turn a picture into a wrap.
External Resource: For design inspiration, check out Canva’s Mockup Guide to understand how mockups drive conversions.
Benefits of Turning Pictures into Wraps
✔️ Boost perceived product value
✔️ Offer unique, customized products
✔️ Stand out in competitive marketplaces like Etsy
✔️ Increase engagement and click-through rates
Final Thoughts: Start Creating Professional Wraps Today
Turning a picture into a wrap is no longer limited to graphic designers. With tools like PixWrap, anyone can create high-quality tumbler wraps, mug wraps, and bottle wraps that sell.
Ready to transform your photos into stunning product wraps? Get started with PixWrap mockup generator now and watch your product listings come to life. Turn a picture into a wrap easy.